fermentation
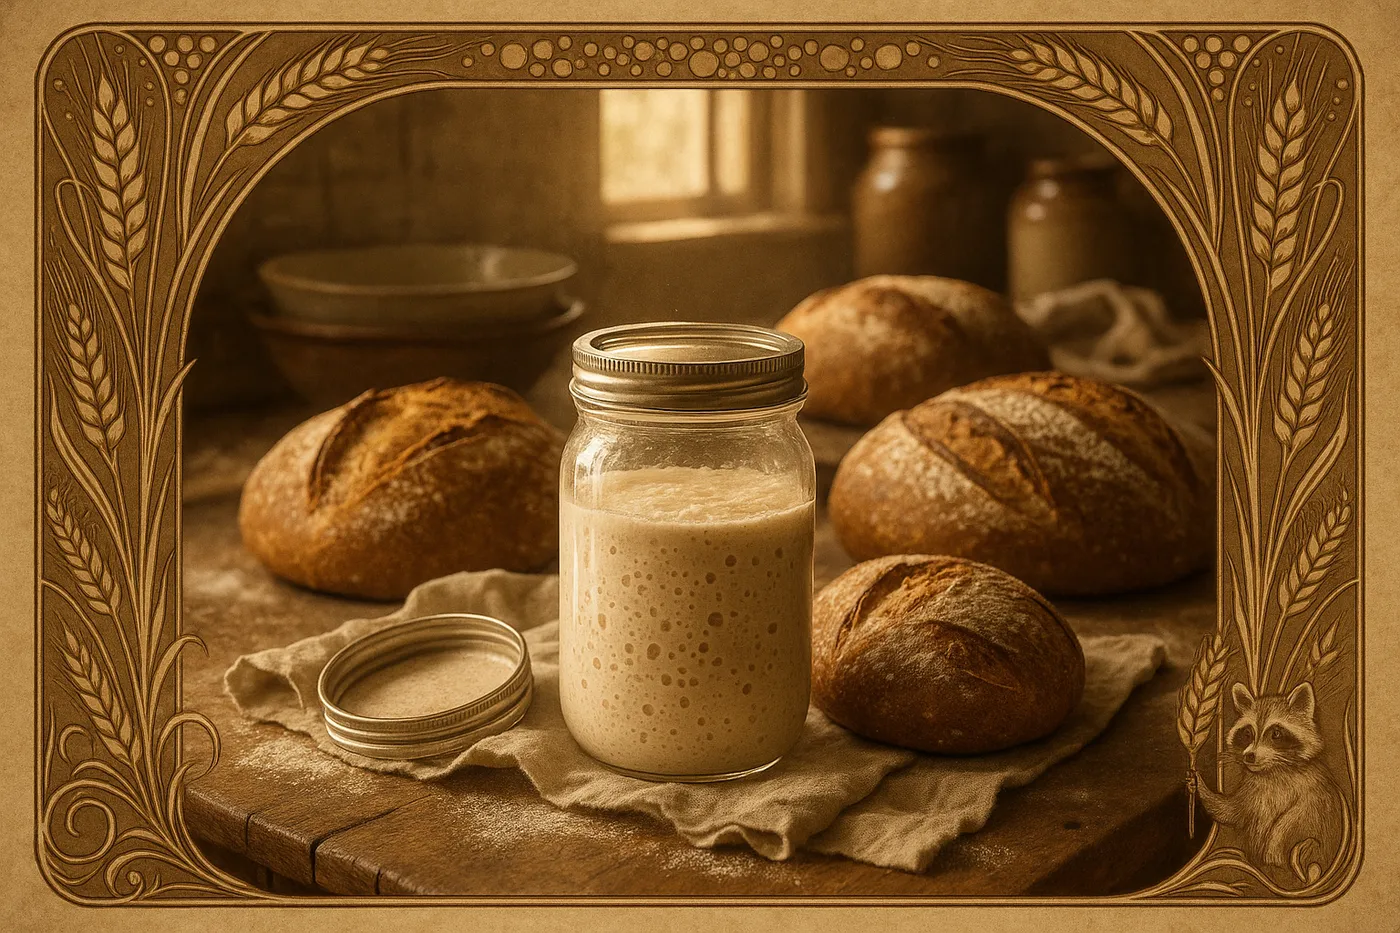
Sourdough: The Wild Yeast Adventure

Raccook
January 19, 2025
5min read
It started with pandemic boredom and a bag of flour. Like millions of others, I thought I'd try making sourdough. Unlike millions of others, I became completely obsessed. My kitchen transformed into a flour-dusted laboratory where I learned to read bubble patterns like tea leaves and judge fermentation by smell alone.
Three years later, I maintain a starter named "The Ancient One" (it's actually only three years old, but it acts distinguished), and I've distributed starter offspring to half the neighborhood. The journey from first failed loaf to consistent crusty success taught me patience, observation, and the magic of wild fermentation.
Creating Your Starter
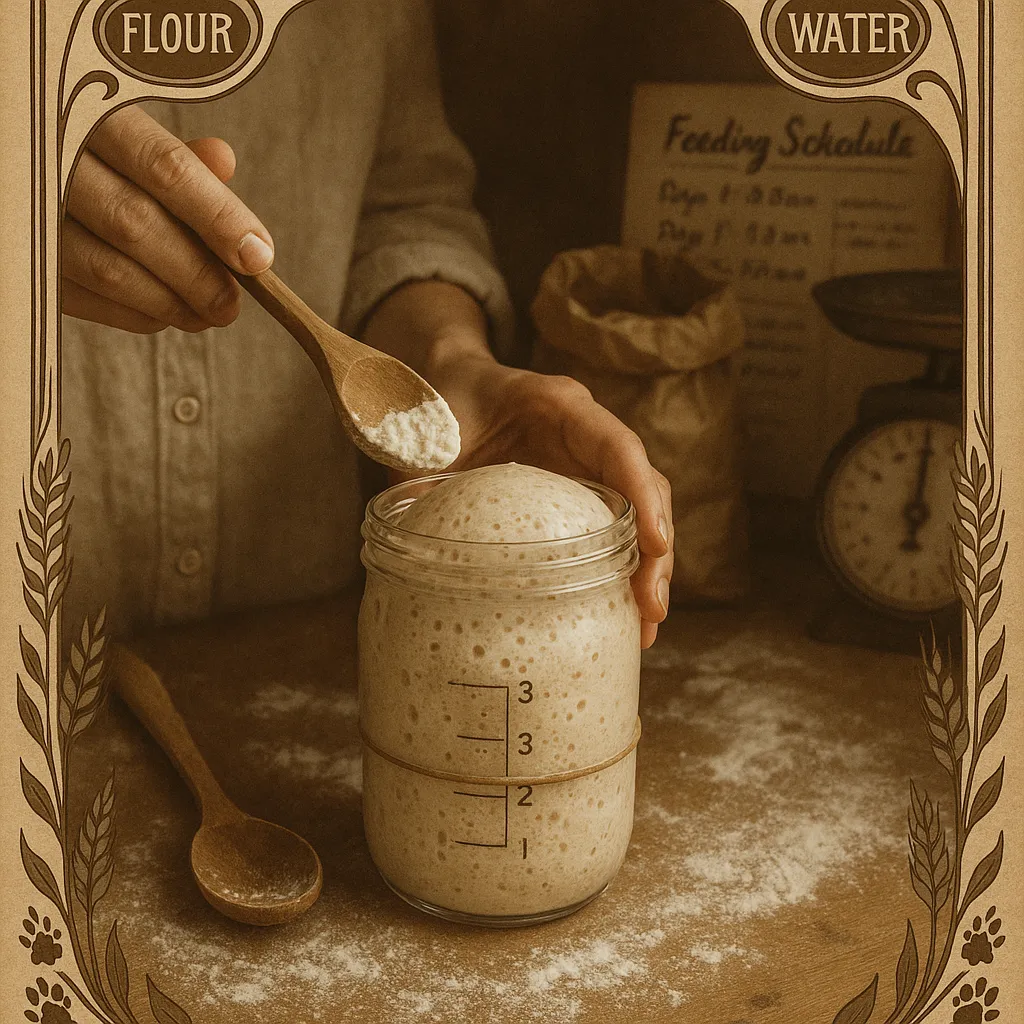
Building a sourdough starter from scratch feels like summoning bread spirits from thin air. You're cultivating wild yeast and beneficial bacteria that exist naturally on grain and in your environment. Each starter develops its own personality based on your flour, water, and kitchen's unique microbiome.
Week One: The Beginning
Day 1:
🌾 50g whole wheat flour (or rye for extra vigor)
💧 50g room temperature water
Mix in a clean jar, cover loosely, and wait. Mark the level with a rubber band — this helps track growth.
Days 2-3: You might see bubbles and growth, then it might smell funky and deflate. This is normal — you're witnessing a microbial succession battle. The good guys will win.
Days 4-7:
Begin daily feedings:
🌾 Discard all but 50g of starter
🌾 Add 50g flour (can switch to all-purpose now)
💧 Add 50g water
By day 7, you should see predictable rising and falling, a pleasant yeasty smell, and bubbles throughout.
The Float Test
Drop a spoonful of peaked starter in water. If it floats, it's ready to raise bread. If it sinks, keep feeding. This test isn't foolproof, but it's a good indicator of sufficient gas production.
Starter Maintenance
Daily Feeding (Counter Storage)
If baking frequently, keep your starter on the counter and feed daily:
- 1:1:1 ratio (starter:flour:water) for maintenance
- 1:5:5 ratio to reduce acidity and slow fermentation
- 1:10:10 to really slow things down or prepare for baking
Weekly Feeding (Refrigerator Storage)
For occasional bakers:
- Feed your starter
- Let it peak (double in size)
- Refrigerate
- Feed weekly, or before baking
To revive refrigerated starter: Take out, let come to room temperature, discard and feed. May take 2-3 feedings to fully reactivate.
Understanding Your Starter
Signs of a Healthy Starter
- Doubles in 4-8 hours after feeding
- Passes the float test when peaked
- Smells pleasantly sour, yeasty, or like ripe fruit
- Shows consistent rise and fall patterns
Troubleshooting
Liquid on top (hooch): Just hungry. Pour off or stir in, then feed.
Mold: Fuzzy growth means start over. Prevent by keeping jar clean and feeding regularly.
No rise: Could be too cold (ideal temp 70-80°F), wrong water (chlorinated?), or needs more time.
Too acidic: Smells like acetone? Feed more frequently or use higher ratios.
Your First Sourdough Loaf
After weeks of starter care, it's time for the main event. This basic recipe is forgiving and teaches fundamental techniques.
Basic Sourdough Bread
🥖 100g active starter (peaked and passes float test)
💧 375g water (room temperature)
🌾 500g bread flour
🧂 10g salt
The Process
1. Autolyse (30 minutes) Mix flour and water until just combined. Cover and rest. This hydrates flour and begins gluten development.
2. Add starter and salt Dimple starter and salt into dough. Mix by folding until well combined. The dough will be sticky — resist adding flour.
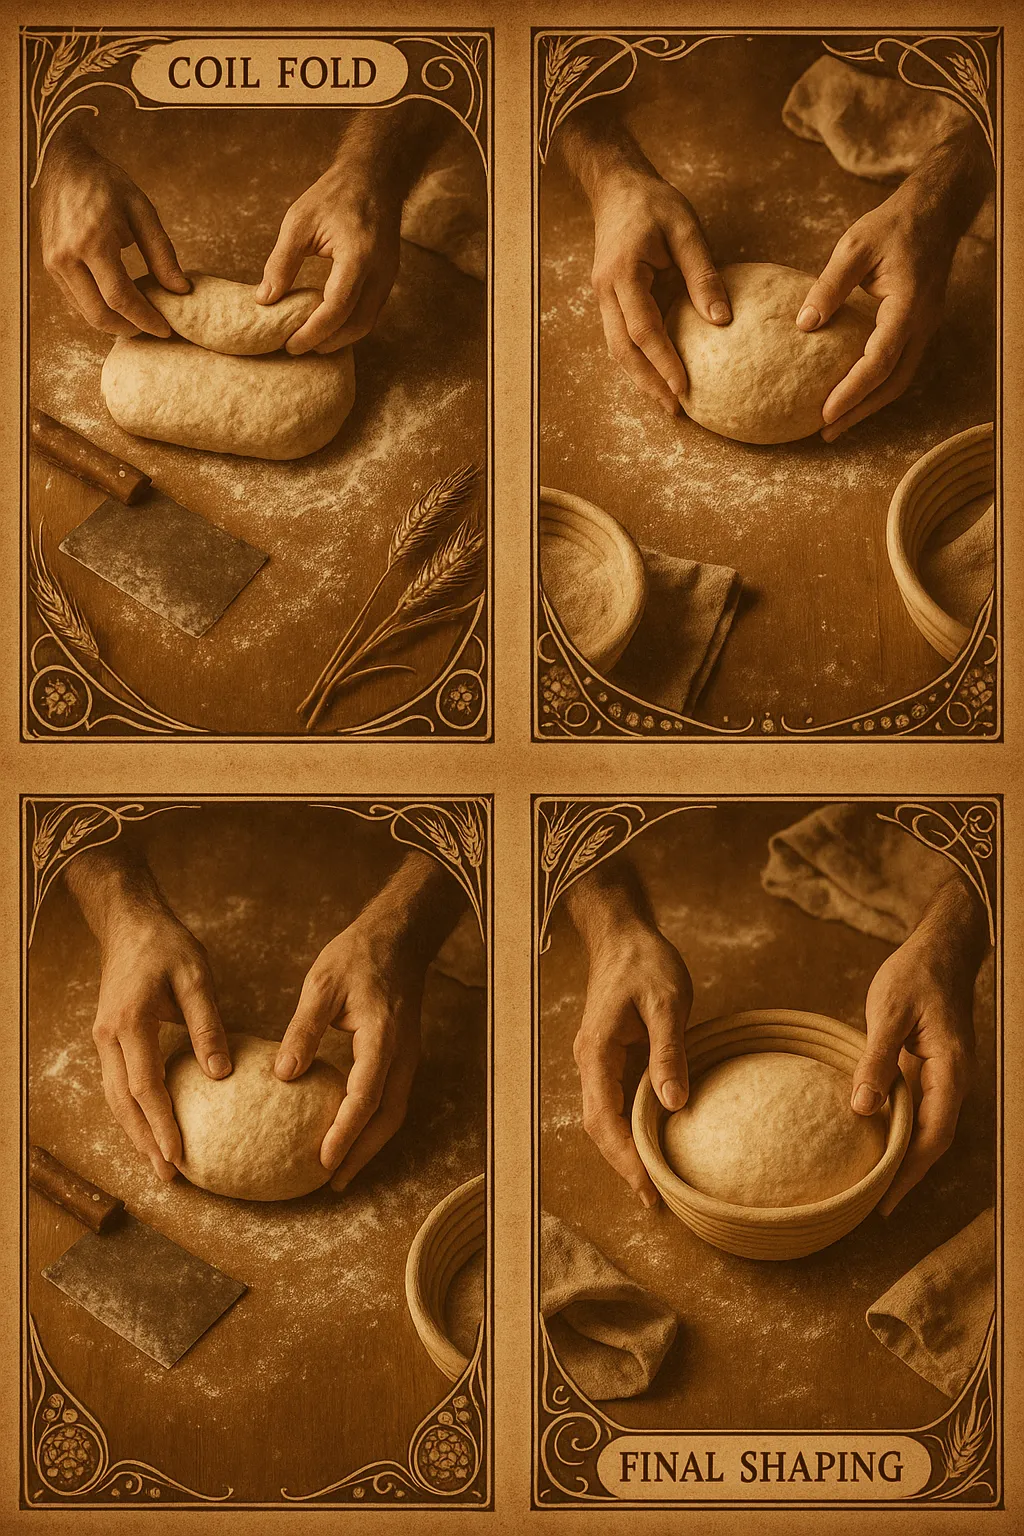
3. Bulk fermentation (4-6 hours) Perform "coil folds" every 30 minutes for first 2 hours:
- Wet hands
- Lift dough from middle, letting ends stretch down
- Rotate bowl, repeat 4 times
- Watch for 50% size increase and jiggly texture
4. Pre-shape Gently turn onto lightly floured surface. Shape into round using bench scraper. Rest 20-30 minutes.
5. Final shape Shape into boule or batard. Place seam-side up in banneton or bowl lined with floured towel.
6. Final proof
- Room temperature: 3-4 hours
- Cold retard: 8-48 hours in fridge (develops flavor)
7. Bake
- Preheat Dutch oven to 475°F
- Score dough with sharp blade
- Bake covered 20 minutes
- Uncover, reduce to 450°F, bake 20-30 minutes until deep brown
Advanced Techniques
Flour Variations
- Whole wheat: Replace up to 30% for nuttier flavor
- Rye: Adds complexity but reduces structure
- Spelt: Ancient grain with delicate flavor
- Kamut: Buttery, golden color
Inclusions
Add during final shaping:
- Olives and herbs
- Nuts and dried fruit
- Seeds (sesame, poppy, fennel)
- Cheese and jalapeños
- Cinnamon and raisins
Scoring Patterns
Beyond basic slash:
- Wheat stalk design
- Square pattern for even expansion
- Decorative leaves and swirls
- Your initials (starter pride!)
The Discard Dilemma
Don't toss that discard! Use it for:
- Pancakes: Add to any pancake batter
- Crackers: Mix with olive oil, herbs, bake thin
- Pizza dough: Adds tang and chew
- Banana bread: Replace some flour
- Brownies: Surprisingly fudgy addition
Sourdough Rythmns
Successful sourdough baking means finding a rhythm that fits your life:
Weekend Warrior:
- Thursday night: Feed starter
- Friday night: Mix dough
- Saturday morning: Shape and proof
- Saturday afternoon: Bake
Night Owl:
- Morning: Feed starter
- Evening: Mix and bulk ferment
- Before bed: Shape and cold retard
- Next evening: Straight from fridge to oven
The Sourdough Life
Maintaining a starter changes you. You start checking weather (humidity affects timing), planning around feeding schedules, and boring friends with fermentation facts. Your freezer fills with discard experiments. You critique commercial bread. You name your starter and worry when you travel.
But then you pull a perfect loaf from the oven — crackling crust singing its cooling song, crumb structure like lace, that complex tangy flavor impossible to buy — and it all makes sense. You've harnessed wild yeast, created food from three simple ingredients, and connected with thousands of years of baking tradition.
My starter has survived neglect, travel, and that time I accidentally used salt instead of flour. It's resilient, forgiving, and consistently surprising. Each loaf teaches something new about timing, temperature, or technique.
Building Your Fermentation Practice
Ready to expand beyond bread? Explore:
- Kombucha Brewing - Another living culture to tend
- Fermentation Journey - The complete fermentation guide
- Homemade Sauerkraut - Simple vegetable fermentation
May your starter bubble vigorously and your loaves rise high!