side-dish
Classic Sauerkraut

Prep: 30 minutes
Cook: 2-4 weeks fermentation
My first attempt at sauerkraut was a disaster. I used table salt (wrong), packed it loosely (wrong), and fermented it somewhere warm (also wrong). The result was mushy, overly salty, and vaguely alcoholic. But something about the process — watching simple ingredients transform through time and salt — hooked me completely.
Now, years later, I've got the rhythm down. Every few weeks, I shred a couple cabbages, and my kitchen becomes a temporary kraut factory. The satisfaction of pulling crunchy, tangy sauerkraut from a jar I packed myself never gets old. Plus, it's possibly the easiest ferment to master once you understand the basics.
Ingredients
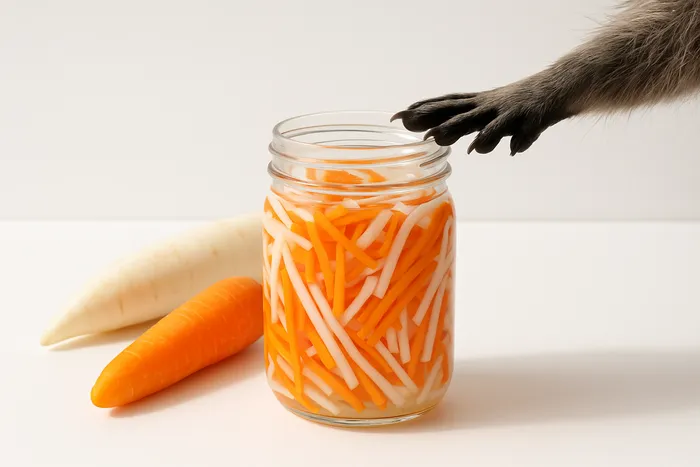
🥬 2 pounds cabbage (about 1 medium head)
🧂 1.5-2 tablespoons sea salt (non-iodized)
🥕 Optional: 1 carrot, grated
🌿 Optional: 1 teaspoon caraway seeds
🧄 Optional: 2 cloves garlic, sliced
Equipment
🫙 32-ounce wide-mouth mason jar
⚖️ Kitchen scale (helpful but not essential)
🔪 Sharp knife or mandoline
🥣 Large mixing bowl
⚪ Weight to keep cabbage submerged
Instructions
-
Prepare your workspace: Clean everything thoroughly. Fermentation is forgiving, but starting clean prevents unwanted bacteria from competing with the good guys.
-
Prep the cabbage: Remove outer leaves (save one for later). Quarter the cabbage, remove the core, and slice as thin as you like. I prefer almost paper-thin for faster fermentation and better texture.
-
Salt and massage: If using a scale, use 2% salt by weight (20g salt per 1000g cabbage). Otherwise, start with 1.5 tablespoons per average head. Sprinkle salt over cabbage in a large bowl. Now comes the meditation — massage that cabbage. Really squeeze and scrunch it. After 5-10 minutes, it should be limp and sitting in its own brine.
-
Pack the jar: Transfer cabbage and all its liquid to your jar. Pack it down HARD. Use your fist, a muddler, or a kraut pounder. The goal is zero air pockets and brine covering the cabbage. Leave 2-3 inches headspace — it will bubble and expand.
-
Keep it submerged: This is crucial. Use a weight (small jar filled with water, special fermentation weight, or even a clean rock) to keep cabbage under brine. Cover with that saved outer leaf trimmed to fit. Any cabbage exposed to air will mold.
-
Cover and ferment: Cover with coffee filter or cheesecloth secured with rubber band. This lets CO2 escape while keeping dust and flies out. Place jar on a plate (it might overflow) somewhere 65-75°F.
-
Wait and taste: After 3 days, start tasting daily. It's ready when it reaches your preferred tanginess — usually 1-4 weeks depending on temperature. Warmer = faster.
-
Refrigerate: Once it tastes right, cap it and refrigerate. This slows fermentation nearly to a stop. It keeps for months, getting slowly more sour.
")
Sauerkraut Fermentation Timeline
Variations and Add-ins
Classic Caraway Kraut: Add 1-2 teaspoons caraway seeds — the traditional German touch
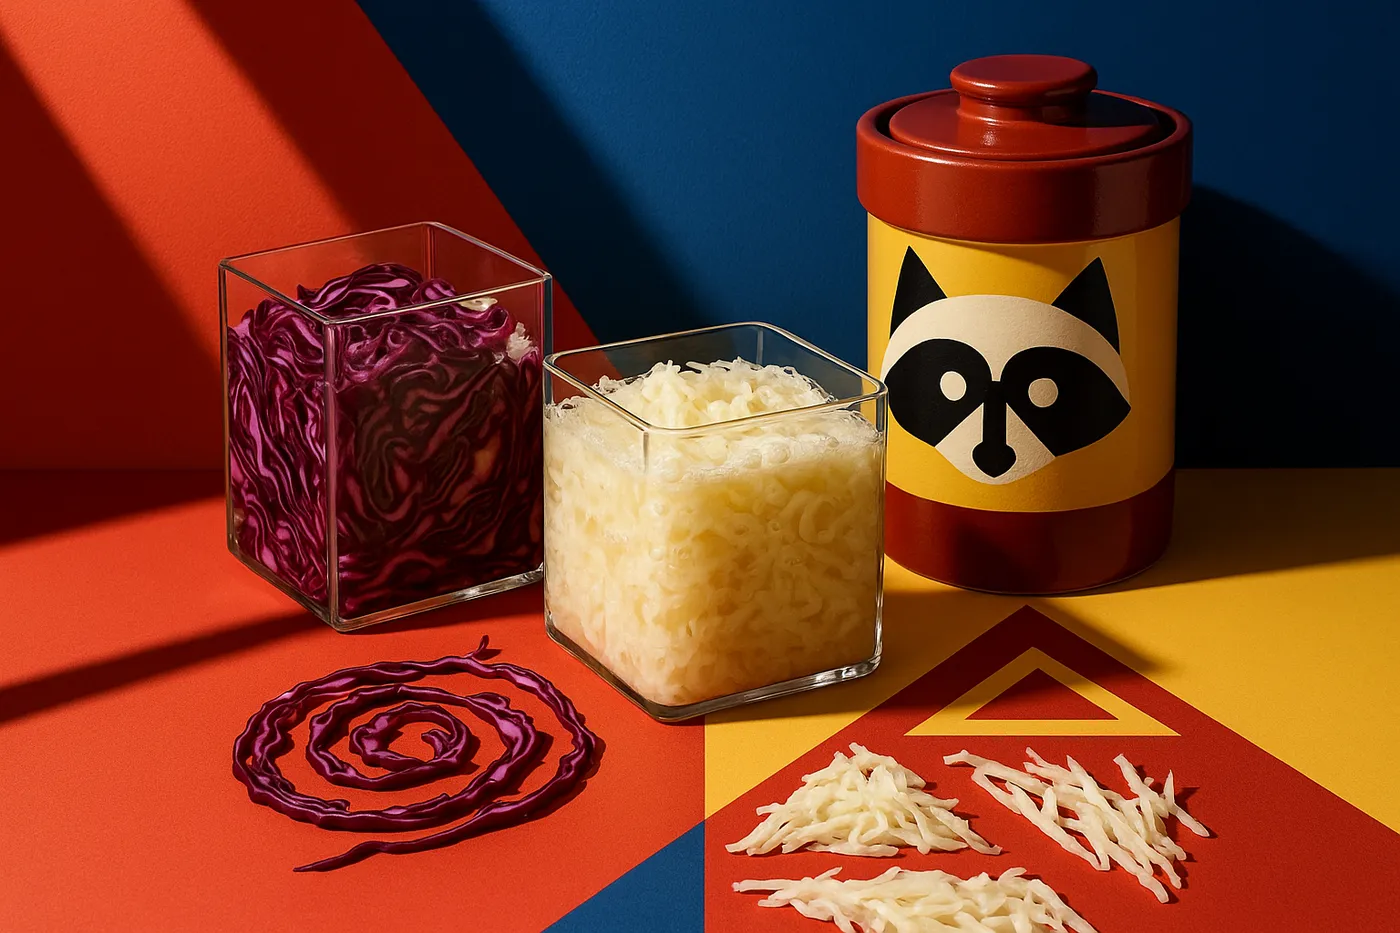
Ruby Kraut: Use red cabbage for gorgeous color and slightly different flavor
Garlic Dill Kraut: Add 3 cloves sliced garlic and 2 tablespoons fresh dill
Spicy Kimchi-Style: Add grated ginger, garlic, and gochugaru (Korean chili flakes)
Apple Kraut: Thinly slice 1 apple and layer with cabbage — adds subtle sweetness
Turmeric Golden Kraut: Add 1 tablespoon grated fresh turmeric for color and anti-inflammatory benefits
Troubleshooting Your Kraut
Too salty? Rinse before eating, or use less salt next time. The minimum safe amount is 1.5% by weight.
Mushy texture? Too warm, too long, or too much salt. Aim for 65-70°F for best texture.
Pink or grey color? Usually harmless yeast, but if it smells off, toss it. Keep everything submerged to prevent.
White film on top? Kahm yeast — harmless but affects flavor. Skim it off and ensure better submersion next time.
Not sour enough? Give it more time, or ferment somewhere slightly warmer.
The Science of Sauerkraut
Salt does three things: draws water from cabbage creating brine, prevents bad bacteria, and creates perfect conditions for lactobacillus (good bacteria) to thrive. These beneficial bacteria eat the natural sugars in cabbage, producing lactic acid. This acid preserves the cabbage, creates the tangy flavor, and provides probiotic benefits.
The beauty is you don't need to add any culture — the right bacteria already live on the cabbage leaves. You're just creating the perfect environment for them to flourish.
Serving Suggestions
- Classic: Alongside bratwurst and mustard
- Reuben: Piled high with corned beef and swiss
- Buddha Bowl: Adds probiotic punch to grain bowls
- Eggs: Surprisingly good with scrambled eggs
- Avocado Toast: Tangy contrast to creamy avocado
- Soup Topper: Brightens heavy winter soups
- Straight from Jar: My favorite midnight snack
Storage and Safety
Properly fermented sauerkraut is incredibly safe — the acidic environment prevents harmful bacteria growth. Signs your kraut is ready for compost instead of consumption:
- Foul smell (not just funky)
- Slimy texture
- Colorful fuzzy mold (not just kahm yeast)
When stored in the fridge, kraut keeps for months. The flavor continues developing slowly. I've eaten year-old kraut that was better than when first made.
Beyond Basic Kraut
Once you master basic sauerkraut, a world of vegetable fermentation opens up:
- Fermented carrots and radishes
- Curtido (Salvadoran fermented slaw)
- Pickled turnips and beets
- Mixed vegetable ferments
The same salt-massage-submerge technique works for most vegetables. Some need extra brine (harder vegetables don't release enough water), but the principle remains the same.
Fermentation Philosophy
Making sauerkraut taught me patience and trust. You can't rush fermentation — it happens on microbial time. You learn to read signs: the changing color, evolving smell, the sound of active bubbling. It's a partnership with invisible allies, creating something impossible to achieve any other way.
My fermentation corner now hosts multiple jars in various stages — some just started, others ready for the fridge. Each batch tastes slightly different depending on temperature, salt level, and the particular cabbage. This variability isn't a bug; it's a feature. You're creating something alive and unique.
Related Fermentation Adventures
- Fermentation Journey - Your complete fermentation guide
- Kombucha Brewing - Another easy ferment to master
- Korean Kimchi - Sauerkraut's spicy cousin
Happy fermenting! May your cabbage stay submerged and your kraut stay crunchy.